Synchronizing Project Documents on Windows
Introduction
Keeping information up-to-date requires planning and organization. Use technology to coordinate the development and delivery of all project document storage and archival, depending on the specific needs of the team and stakeholders. There’s nothing worse than completing a set of tasks or requirements and then discovering that the document contains incorrect or obsolete information. Keep project teams on track by always ensuring a copy of the latest documents resides in a public place. Use these tips for synchronizing project documents on Windows systems.
Copy Files Using Window’s Explorer
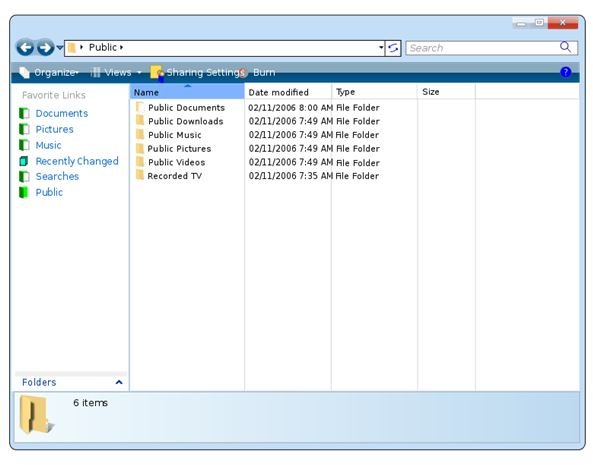
Copy files from one location to another, such as a desktop computer to a server location, by dragging and dropping the file from one Windows Explorer window to another. Take care not to overwrite a newer file with an older file. Project managers should establish a naming convention that clearly identifies the date and version for each file to avoid this error. Project files may take up a great deal of space. Copying and pasting a large number of files can take a long time, particularly if the files are large, but this method requires no additional software.
Copy Only Newer Files
Use the Windows command line utility to copy only files that are newer than the ones in the destination folder. If the project manager regularly updates documents, such as status reports or work breakdown structures, on his laptop to reflect the current progress, he should synchronize the files in the main folder as well as any subfolders, with the ones that are shared with others. Use the “/d” qualifier to copy only files with a newer date. Use the “/i” qualifier to copy the files to another folder. Use the “/s” qualifier folder to include subfolders. For example, enter the command below.
xcopy “c:/course” “x:/course” /d /i /s
Transfer Files Using Window’s Briefcase Tool
Transfer files using Window’s Briefcase tool to synchronize files between two different computers. Windows Vista users can use Sync Center to keep files synchronized between a computer and a mobile device on a network server. For example, copy project documentation files to another computer using removable media, such as a Flash drive. Then, work on the files on the other computer. Use Briefcase to synchronize the changes back to the files on the original computer. Right-mouse click on the desktop or folder. Select the “New” option and then choose “Briefcase.” Enter a name for the briefcase that will contain the materials, such as “Review Session 1.” Drag and drop or cut and paste files into briefcase. Transfer the briefcase to a disk, a Flash drive or across a network by dragging and dropping it or cutting and pasting it to the new location. Edit the files on a new computer. Transfer the briefcase containing the materials back to the original computer. Right-mouse click on the briefcase send then choose the “Update All” option to synchronize the files with the original files.
Conclusion
Requirements, plans and testing documents need to be shared with all team members. Synchronizing files ensures that project team members always have the latest documents. Expensive or complex software tools aren’t necessarily required to get the job done. Using the Window’s cut and paste function, the command line utility xcopy command or the Briefcase tool, a project manager can easily ensure file maintenance occurs consistently.
References and Image Credit
- Image Credit: Windows Explorer Vista (https://commons.wikimedia.org/wiki/File:Windows_Explorer_Vista.svg)
- “Microsoft SharePoint Workspace 2010 - Microsoft Office.” Office - Microsoft Office. https://office.microsoft.com/en-us/sharepoint-workspace/ (accessed November 13, 2010).
- “Tech-Pro.net - tried and tested software you can trust.” Tech-Pro.net - tried and tested software you can trust. https://www.tech-pro.net/ (accessed November 13, 2010).
